
- OCR Server
- SharePoint
- OCR
- Tutorials
How to automatically batch compress PDF files
- OCR Server
- SharePoint
- OCR
- Tutorials
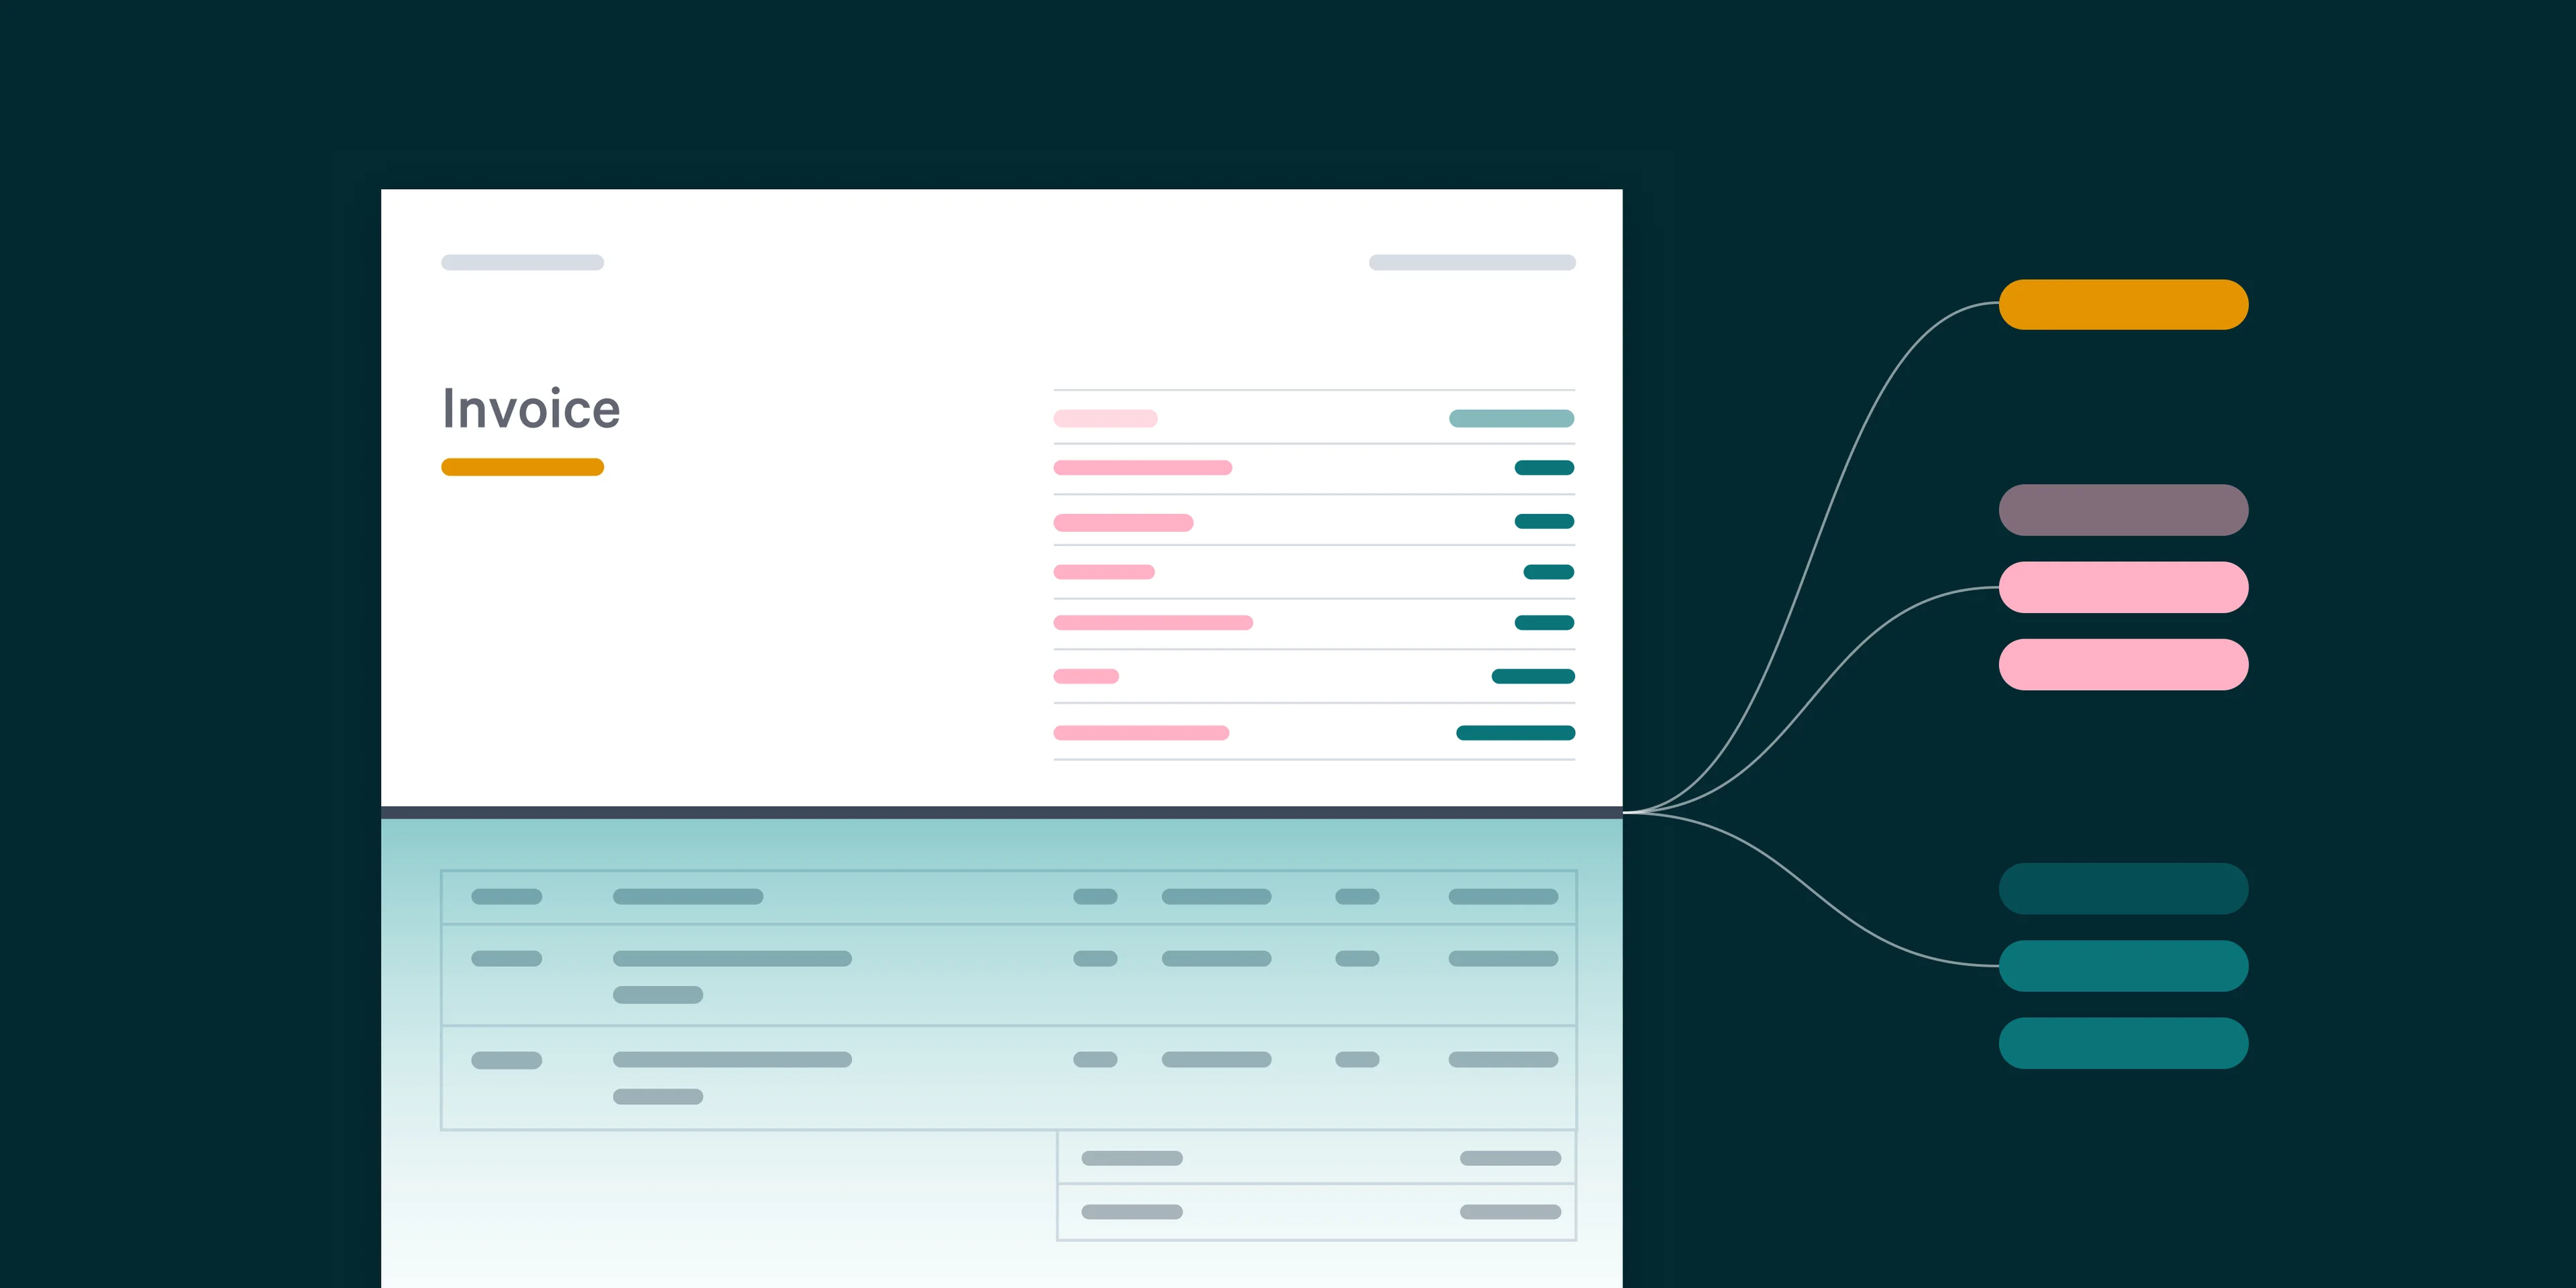
How to build a KVP data extraction workflow using Autobahn DX
- OCR Server
- SharePoint
- OCR
- Tutorials


Sign up to receive the latest tips via email.
Subscribe